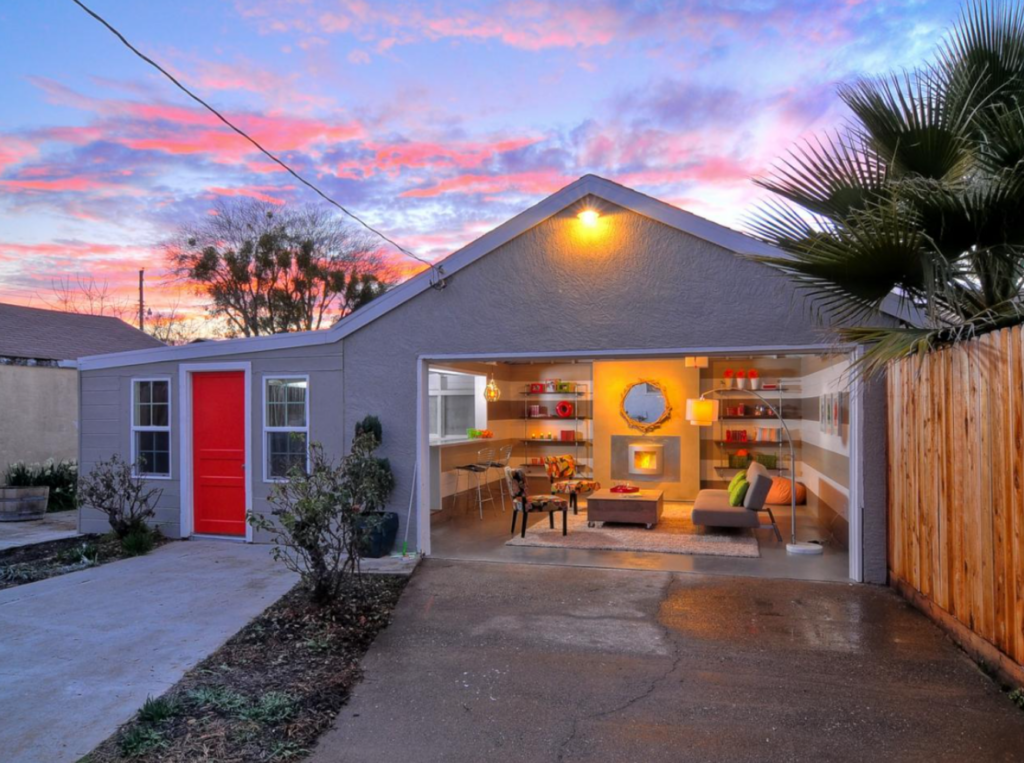
Once you have your permits in order and the design finalized, it’s time to begin the actual construction of your garage conversion. Building an ADU (Accessory Dwelling Unit) requires special care and attention to detail. This guide will walk you through the process of constructing a garage conversion ADU, from planning and preparation to completion.
1.Create a Construction Plan: Before any work can begin, you need a clear plan of action. Determine the materials and labor needed to complete the project, create a budget, and set realistic timelines for each stage of construction.
2.Prepare the Site: The first step is to prepare the site by removing any existing structures , such as shelving, closets, etc. You will also need to clear the area of debris and other items.
3. Construct the Walls: Once the site is prepared, you can begin constructing the walls of your ADU garage conversion. Start by laying out a foundation and framing each wall before attaching them together with nails or screws.
4. Install Electrical and Plumbing: The next step is to install the electrical wiring, outlets and switches. You should also put in any necessary plumbing fixtures, such as sinks, toilets, and showers.
5. Apply Finishes: Once all the major construction is complete, it’s time to start adding finishing touches. Apply wallboard, drywall and paint to the interior of your ADU.
6. Add Finishing Touches: The final step is to add any necessary fixtures, such as cabinets, countertops, flooring and appliances.
Once everything is in place, you can enjoy your newly converted garage space! With a little bit of planning and careful construction, you can create a comfortable living space in your home. Good luck with your garage conversion!